Wednesday, May 20, 2015

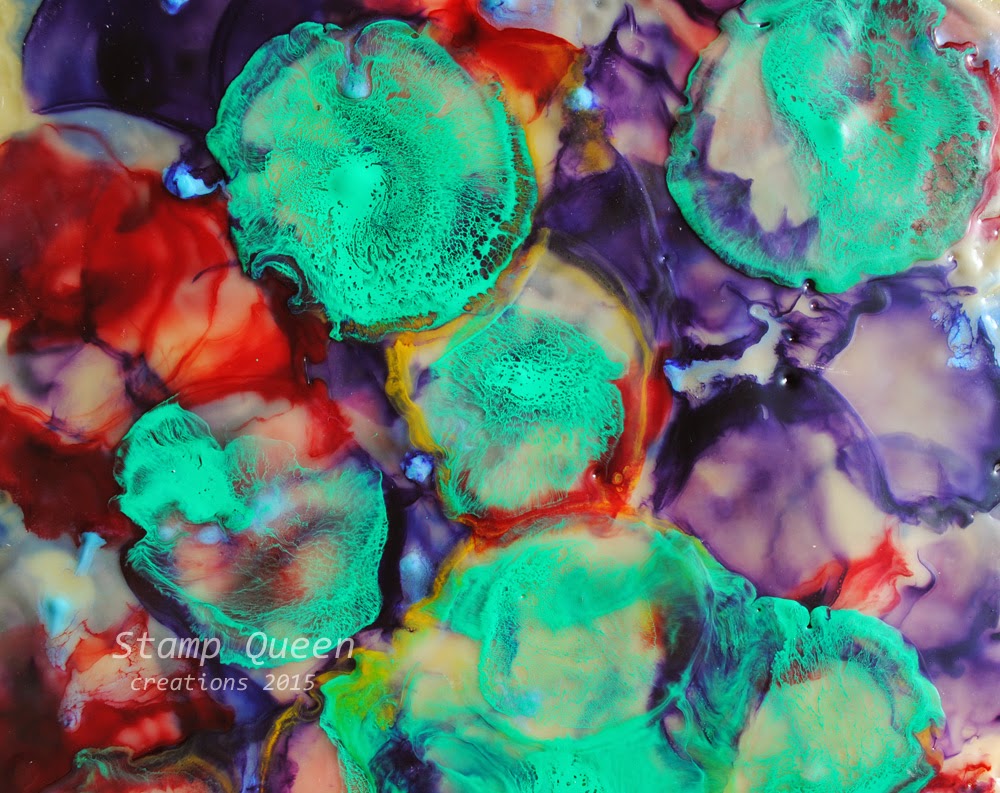
Seafoam bubbles

 Hallo,
   Trying to get an early start this am as I have a couple projects that I want to finish off before I have to get a pre-work nap....
   Lots of layers of wax to start and then 2 layers of 'bubbles' (dripped drops of wax onto it and blew them out with the heat gun - the first bubble layer then had a few layers of plain wax added on top and then another layer of bubbles.
  I really low that color of green - seafoam  green kinda thing....
  All in all not only did I have fun with these - I really like how they turned out too!!!
   Take Care
       Tera


Tuesday, May 19, 2015

Encaustic bubbles

 Hallo,
   Well I had a fun day in my studio today and finished off 2 of the projects from my last post - this is the first one.
  I dripped drops of red, blue and some purple on to the base of about 8 layers of wax and blew them out with the heat gun, a couple more layers of wax and another round of drips - I think it turned out pretty good as you can see the under layer of 'bubbles' as slightly faded and then the new layer just pops.
  I painted the sides of the cradled panel a dark blue.
  All for today - Take Care
        Tera


Saturday, May 16, 2015

Several works in progress.....

 Hallo,
   A muggy, sometimes rainy Saturday am here in NW Florida. Got the pups their walk and now I am trying to catch up on some computer stuff - should try to get some yard work done but just too hot and muggy for me this am.....
   I got the day to play in the studio yesterday and started a couple new projects (the first 4 pics)
   The first one (first 2 pics) started out with about 7/8 layers of plain wax and then I used the cool metal eyedropper thingy to drip drops of colored wax on top and used the heat gun to melt and blow/disperse the drops, added more drops, heat gun - repeated several times and then  added 2 or 3 layers of plain wax over the top. My plan is to do another drop layer and ....well we will see....
   For the second one (next 2 pics) I started with about 10 layers of wax and then did some random carving into the wax and then covered the carvings with red wax. Once it cooled a bit I scrapped off red wax on top leaving just the lines I carved now filled with red. Then I added about 3 layers of wax and did several rounds of drops just like the first one and a final 2/3 layers of wax  - and now to let them 'cure'  I have found that the wax will clear up just a bit after it has a day or 2 to 'cure/rest' and then I will come back and see what else I want to add to each piece.
   The next set of pictures is another project I am working on - I am zentangling the base (leaving a spot for an acrylic and zentangle piece I did in a class a few months back - last picture). I had planed on covering the base with several layers of wax (which will soften but not block out the zentangle) and then placing the acrylic piece on top in the spot I left for it.....thinking I may just add the acrylic piece on top as it is without the wax but will wait and see what the piece tells me to do :)
   All for today - should try and at least finish a bit of house cleaning......and then  a nap before I work tonight....
   Take Care
     Tera


Friday, May 15, 2015

Encaustic, image transfer, stencils - a bit of a mix, vintagey style


 Hallo,
   Had a great day in the studio today - finished putting together this frame while my wax melted so I could start other projects.
  The 2 wax pieces in this one  were done using several techniques - first about 5 layers of wax
- image transfer of image
- about 3/4 more layers of wax
- 2 more image transfers
- 4 more layers of wax
- stencil with red wax

 I really have been having a lot of fun playing with my wax and learning what I can do with it and there with  be a couple more framed pics coming soon as well as some photos of works in progress tomorrow.

The frame for these 2 pieces is a vintage style shadow box frame so I placed the pieces up on some flat pieces of wood behind them to make them 'float' and stand out a bit.
 I do plan for this to be in the Etsy shop in the next day or so - or if you are local to me then it is hanging in my space at HH Arts gallery here in FWB.
  All for today - Take Care
       Tera


Tuesday, May 5, 2015

Wander

 Hallo,
   I have another box to show you today - been on a roll with the boxes :)
  The main image is from 'The Eastwind' at Sweet Pea Stamps - called Lucy Loo - Voyager II and is colored with prismacolor pencils.
  I did her up with blues this time and added lots of little doo dads - flowers, brick brack for her 'shelf', a gold corner piece made from clay, a charm and tassel and lastly some gears and such....along with an old drawer pull for the 'box opener'
   I love making boxes so you can be sure you will be seeing more from me :)
   All for today - need to run an errand before I head to the studio today....
      Take Care
         Tera


Saturday, May 2, 2015

Vintage wax

 Hallo,
   Well I had a good day playing with wax in my studio yesterday. the first 3 pics show some panels I have been working on - or rather they got to this point and I really liked them but they didn't feel 'done' so I set them aside and just waited.
  Well Thursday when my friend Pat and I went shopping I found a nice stencil and decided to try it on a few of these panels and see how they looked.
   So the next few pics show how they look now with a bit of red wax applied with the stencil and now I do believe they are done (except for framing) I plan to frame these 4 up in a group in the same frame and the last 4 I will add some more design with a stencil but probably do the last 4 all in different colors because I plan to frame them all separately.
  The last 2 pictures are of another painting in the same style as these, only it is 12 by 12 inches instead of 8 by 8.
   All for today - time for me to get some sleep for the day, it is going to be a long weekend - I am not used to working 3  12 hour shifts in a row anymore.....
   Take Care
       Tera


Friday, May 1, 2015

Unicorn box

 Hallo,
  Just popping in quick to show you a sweet little box I finished off a couple days ago - and then am headed off to my studio :) So love saying that still - to play with my wax.....
   The main image for this box is by Karen Middleton from Sweet Pea Stamps, called 'Unicorn Dreams'
  I colored him with prismacolor pencils and added some stickles glitter to his horn and a little bit in his mane too.
  I used a couple pretty papers on the box - and the inside bottom is lined with dark blue felt. Then I added some pretties, all in white - why I am note sure because I had blue ones and green ones (flowers) picked out but the white just seemed to fit better. And added some old drawer pulls for feet.
  The box is 5 by 6 and 1/4 inches and 3 inches tall (4 and 1.4 with the feet).
  Not too much new here - went to Pensacola yesterday and ended up spending more of my craft budget than I intended, but Hobby Lobby got me again - they had a whole bunch of stuff on sale for 50% off and most of it was stuff I actually use . Course I spent a bit at JoAnn's and Tuesday Mornings too......
  We had a fun day - between our 2 schedules, my friend Pat and I haven't had much of a chance for a day out lately so it was a fun day!!!
  Well better get on out the door - Take Care
         Tera