Showing posts with label koh i noor pencils. Show all posts

Tuesday, January 7, 2014

Mountain Deer

Hallo,
  A quick card for you this evening as I am headed off to work - I did a lot of coloring over the weekend making samples for the coloring class I am doing starting this month.
  I am teaching a class - 'Coloring for cardmakers' at our local Center for Lifelong Learning - which is an all volunteer group associated with the local college. We have all kinds of classes at 2 different sessions every year with everything from computer, religion, cooking, beading, knitting, genealogy, exercise, to skeet shooting classes - its a lot of fun!!!
  I made up a few cards yesterday morning and this one just happens to fit the current Tuesday challenge over at Flourishes. It is also the release challenge for this months release week too :) The challenge is to make a 'shaped' card.
Check it out here - www.flourishes.org/blog/
  This is of course a stamp from Flourishes and I colored it with koh-I-noor pencils.
   All for today
                                                                                                 Stay warm!!!
                                                                                                    Tera


Sunday, January 5, 2014

IO Blue

 with a pop of red....
   Hallo,
      A very mellow weekend at the Fujan clan household - went to brunch at one of our favorite bayside places as it will be the last semi warm day for a bit as the deep freeze is sposed to hit tomorrow.
   Spent the rest of the day lounging between the couch and the craft room working on samples for the coloring class I am doing starting in a couple weeks and working on another locker hook rug.
  I did this card for the current challenge over at Impression Obsession which is for 'Blue'. Check it out here - www.mitrafriant.typepad.com
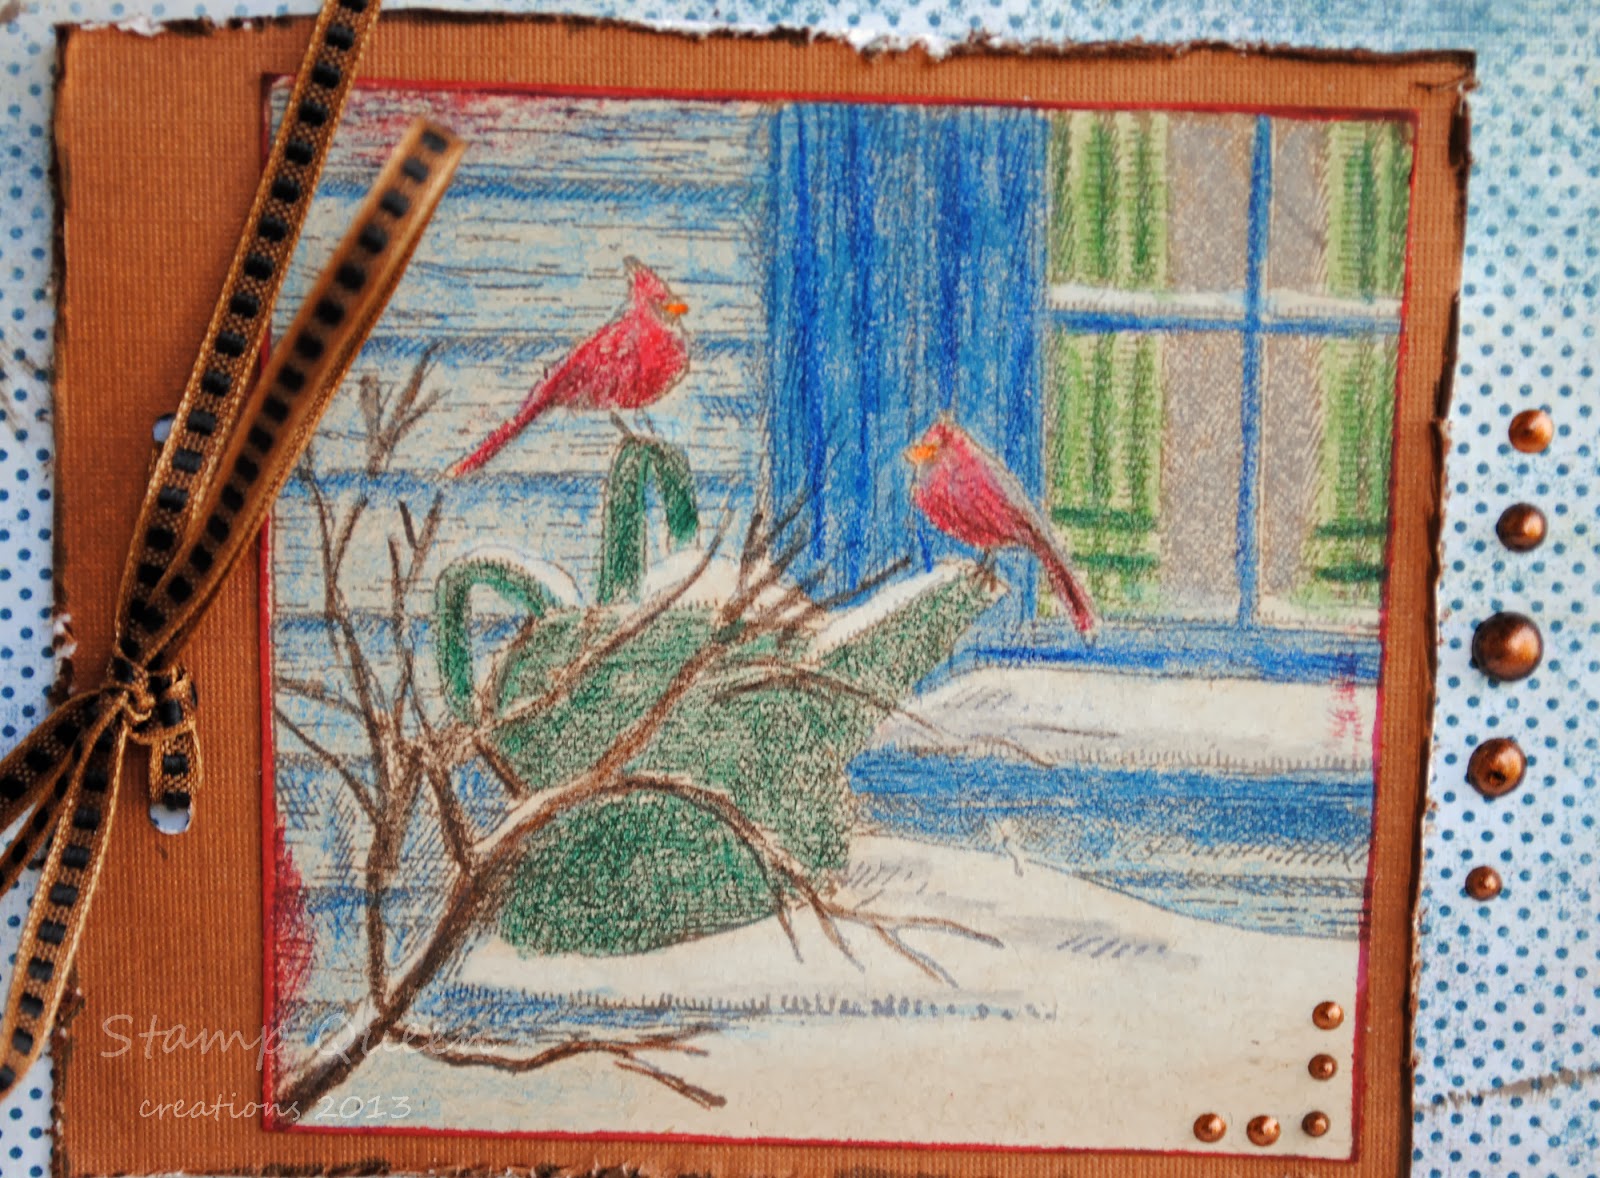
  I used F1929 Cardinals by Window and colored it with koh-I-noor pencils - I couldn't resist the pop of red here - for the birds and the base cardstock. The image was done on the kraft colored 'desert storm' from Paper Temptress and I used kraft core coredinations paper for the middle layer.
   All for today
       Stay Warm!!!!
                                                                                                 Tera


Friday, January 3, 2014

Sweet Pea Stampers - Anything goes

Hallo,
  Welcome to the first Sweet Pea Stampers challenge for the new year!!! It is a pretty easy challenge this time as 'Anything Goes' Play along with us on the Sweet Pea Stampers blog here - www.thesweetpeastampers.blogspot.co.uk/
You could win some Sweet Pea images just for playing along - if you use a Sweet Pea image you get double the chance to win!!!
  Make sure to check out the rest of the Design Teams projects as there is a lot of creative ladies and great inspiration to feast your eyes on :)
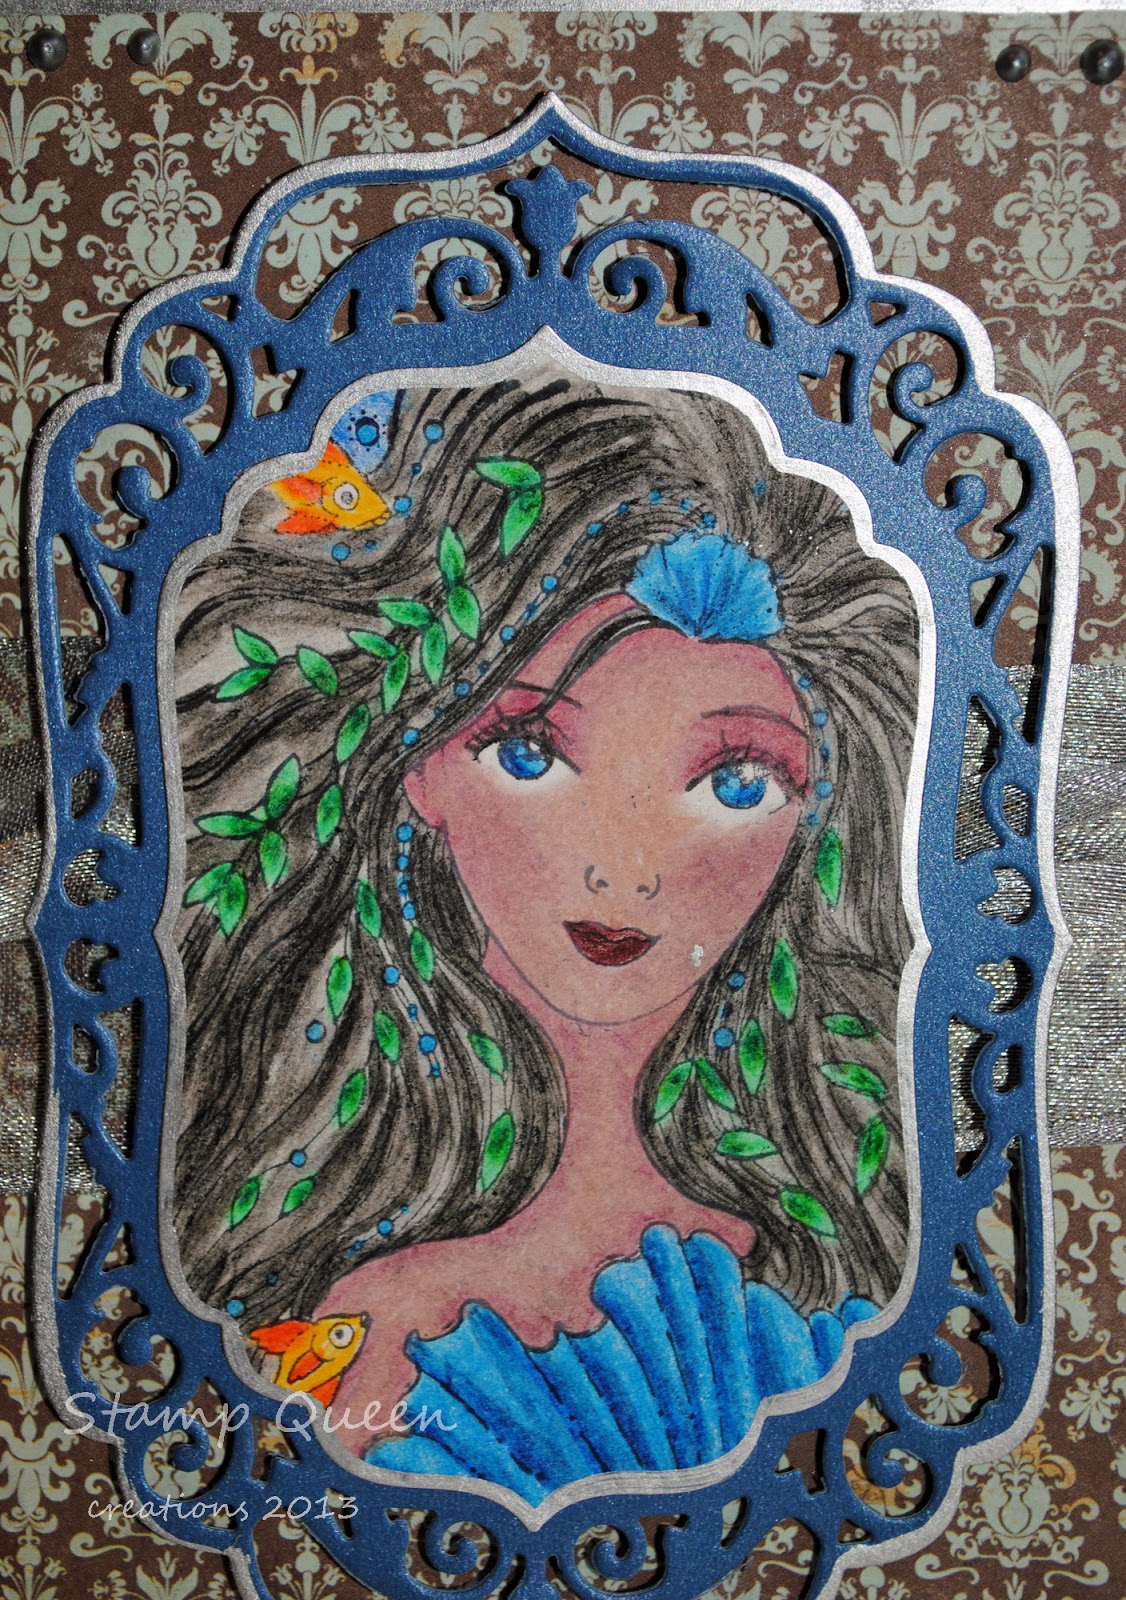
  For my card today I used an image from Elaine Cox called 'Kiara' and colored her with Koh-I-Noor and prismacolor pencils.
  I cut her out with a Spellbinders labels die and the next layer is Spellbinders also, some matching DP, silver metallic pen, silver pearl drops with a tulip fabric paint pen and a silver ribbon and all done :)
  This Sweet Pea image is available both as a rubber stamp and a digi BTW.

  I am back to work after a couple days off for the New Years Holiday (its rare that I didn't have to work!!) just 2 days and then the weekend off...then I guess the old normal routine will start. I do have my DD home with us from collage for another week which is really nice!!
  I have lots of things lined up for 2014 - crafts and art and classes and DS's graduation and then off to college....its going to be a busy year and I like that!!!
   Have a great weekend everyone!!!
         Tera
  

Friday, December 27, 2013

IO Cardinals

Hallo,
  One more card for the current challenge over at the Impression Obsession blog - the challenge this time is 'simple'.
   Check out the challenge here - www.mitrafriant.typepad.com

  I used the IO stamp 'Cardinals by Window' (#F1929) again and stamped it onto kraft cardstock and colored it with koh-I-noor pencils - I colored it rather lightly - headed for a faded more vintage look and then did some distressing on the layers.
 
  All for my tonight - starting my long weekend to work - 3  12 hour night shifts in a row - bleh.....I rarely do 3 in a row anymore so not looking forward to it!!!
  Have a great weekend!!!
       Tera


Friday, March 8, 2013

#4 Watercolor class

Hallo,
  Well this is my last class for this year - I am planning on teaching again for the second session next year. (first session will be a bit tight on time with getting DD off to college and school starting - wont have any time to work on the class over the summer - I have to start waaayy ahead of time because of that thang that always seems to mess up my crafting time - work.....too bad the work thang is what funds my craft budget ....)
  I was a really bad girl this last week and my craft budget is now trashed until  - oh about the end of the summer - I have some fun new toys on the way though  - a Grand Mark from Accu cut which was on sale for 200  dollars less than it normally costs. I have had some dies from my friend Vicki Chrisman - www.vickichrisman.blogspot.com  that I have been wanting FOREVER!!! ( and a couple other of their dies that #1 were too cool to pass up -  #2  the accu quilt dies to cut fabric strips for my newest addiction - locker hook as it is the same machine and all the Accuquilt Studio dies are interchangeable with the Accucut Grand Mark.....and someday when I decide to get back into quilting it will make it easy to add some quilting dies (thats the part I didnot like about quilting was the cutting of all the pieces).
   Well enough blathering....todays class we combined watercolor with the blendable pencils. I asked the class to have a watercolored piece done ahead of class so it would be dry to work on with the pencils.
    What I often do when I combine the 2 is do a light base color of watercolors to more or less block in the colors or if I am working on just cardstock instead of watercolor paper I will often just wash in the backgrond and then color all the rest with pencils.
   I did one of todays images onto the watercolor paper and the other on cardstock - cryogen white.
The trick to using watercolors on regular cardstock is minimal water - so pick up the color with a drier brush than you would with watercolor paper as the cardstock is not nearly as absorbent and if it gets to wet may pill or warp. The cardstock will warp a bit any way but the more water the more warp. I usually let my cardstock dry mostly and then put it under a book to dry the last little bit as it helps it to flatten out a bit.
  Once dry you can add pencil on top to finish coloring your image - pencil onto watercolor paper is definatly not as smooth going as the cardstock but gives a different look and can add some nice texture too.
  Both of todays images are from Flourishes - www.flourishes.org and we used Koh-i-noor pencils and watercolors.
   All for today - off to the couch to do some more work on my locker hook project.
Take Care
   Tera


Friday, January 18, 2013

Coloring class

Hallo,
  Welcome to friday - or in my case more like Sunday because I work tomorrow and Sunday nights....
  I just thought I would show you a bit of what I have been up to lately (in addition to trying to finish off my Christmas bulb project that is...)
  Starting this afternoon I am teaching a class at the local 'Center for Lifelong Learning' It is an all volunteer organization that offers a wide variety of classes twice a year for 8 weeks.
  My class is tittled - Coloring for cardmakers. I am by no means an expert - I just love to color and have picked up a few things along the way - art in High School (a couple years ago), a couple college classes, books, the internet, a few gallery classes and ALOT of time playing :)
  The first 4 classes with be with blendable color pencils - in this case Koh-i-noor and the last 4 will be watercolor - also Koh-i-noor.
  In this first class I plan to talk a bit about light and shadows and blending of colors, some tips for starting with the pencils and will demo 2 images. The type of pencils I love are the soft lead, oil based, blendable pencils (Koh-i-noor. prismacolor, lyra to name a few) Both Koh-i-noor and prismacolor can be found at AC Moore and you can use your coupons on them :) You can also find prismacolor pencils at Mike's, JoAnn's and Hobby Lobby (as well as a ton of places on the internet)
  The first picture is a stepped out demo board using both of todays images - I will have one for each of my students to take with them.
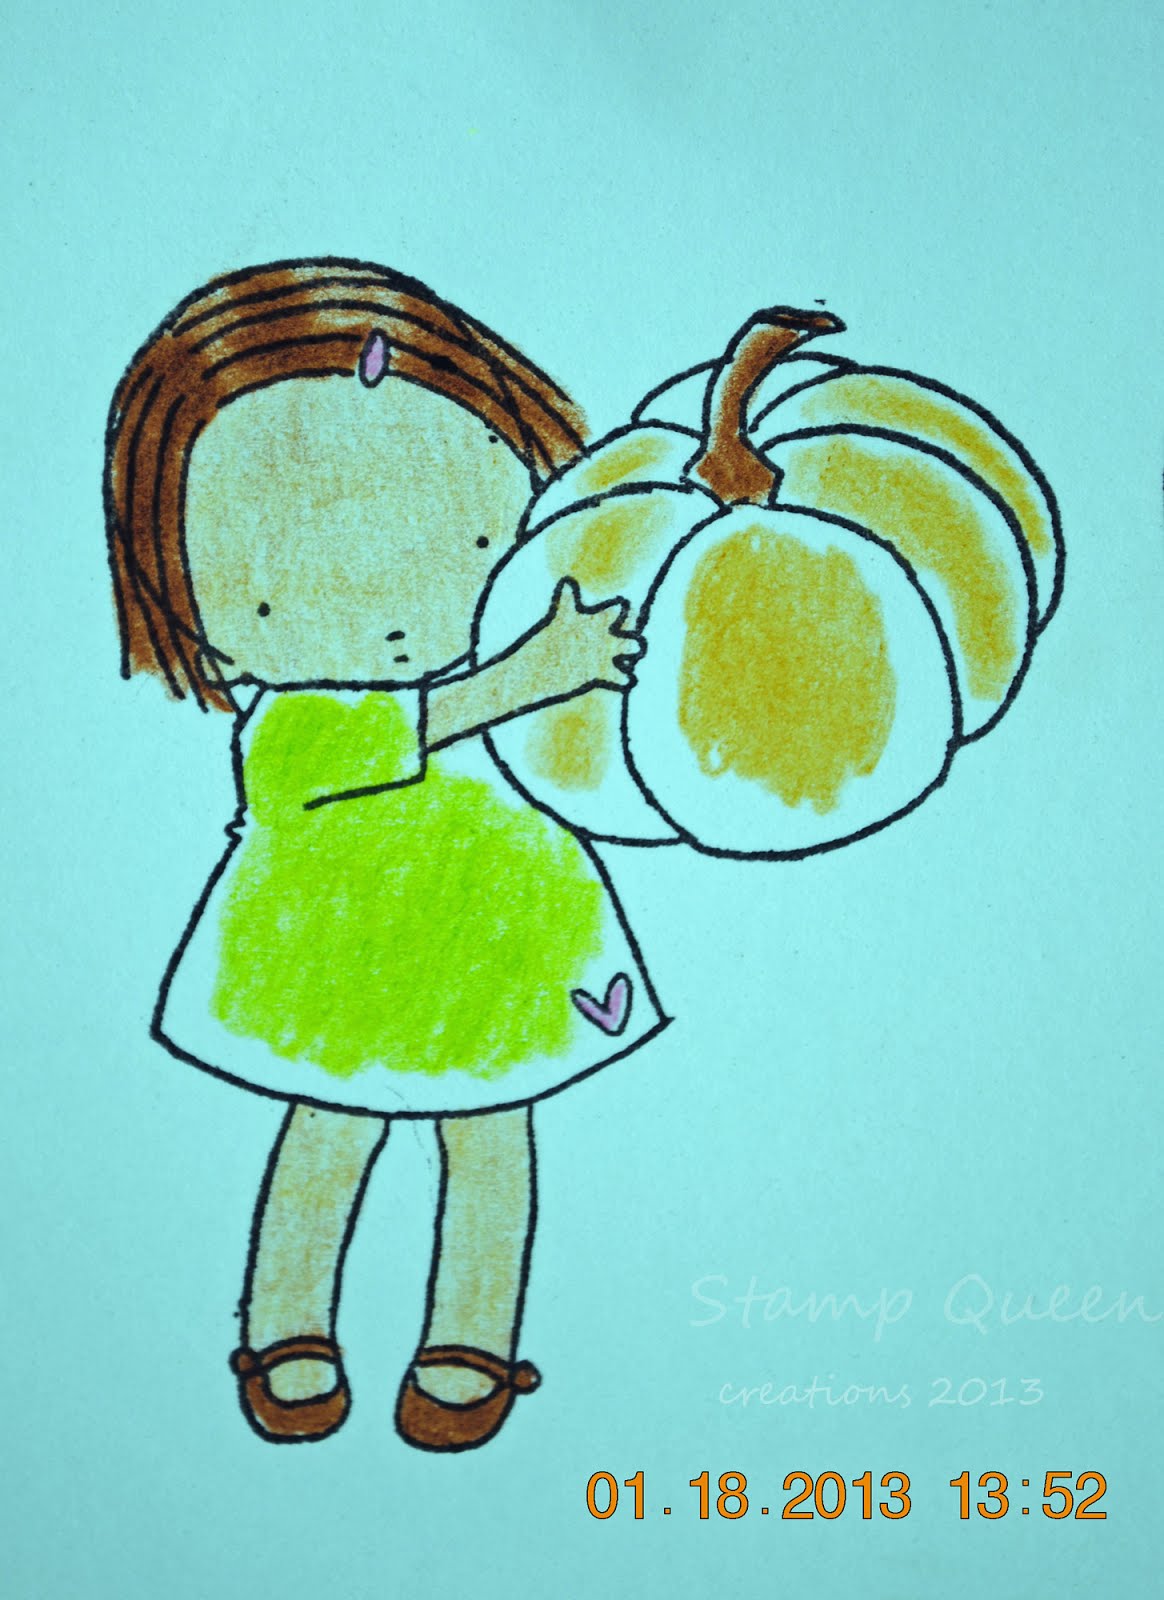
  The second photo just shows light and shadows. The image is a sweet little one from My Favorite Things  - www.mftstamps.com.
  Light and shadows seem to bother people the most but its not that hard with a bit of practice - shadows lie opposite the light and under things (like under her arms and on the bottom of the pumkin). My yellow X represents the light source and the gray the shadows (and shadows are not always gray mind you :) This gives us a starting point to lay down the lightest colors.
  These pencils can be used by laying down light to dark or dark to light - I find it easier to work light to dark as I can always add more dark but its harder to take away a darker color. Typically coloring in a circular motion will give you the nice smooth coverage but whatever works for you :)
  The next picture I layed down the lighter colors - yellow, light green and brown (leaving lighter spots where the 'sun' hits) and peach tone for her skin.
  In the next picture I added in the medium tones of green, orange and a light brown (in skin areas) and then went back with the lighter colors and blended the division lines. As you use the lighter pencil over a darker it blends and smooths the division lines - adding a bit of darker to the light area and making the darker area a bit lighter.
  With the last little girl photo I added the darker colors and again blended with the lighter colors - going back and forth till I liked how it looked  and then added some pink for her cheeks. Lastly I added some shadows  - shadows help make the image stand out a bit off the paper visually and give the picture some depth. I usually have my shadows a bit lighter and smoothed into the background more but I left it as is so it would be easier to see for now.
  The tomatoe image is from a local (Pensacola) company by the name of Flourishes (I think you have heard that name here once or twice as they are only one of my all time favorites!!!) www.flourishes.org
  Both of these stamp companies have blogs and gallerys that have a ton of ideas and eye candy to look at BTW!!!
  I pretty much use the same light to dark coloring techniques for the tomatoe. This stamp has some pretty good referance lines for the shadows in the curves of the leaves and the curve of the tomatoes which makes it easier to decide where to put your shadows.
  All for today - I do plan to post my class project each friday from now on for the 8 weeks if you want to follow along :)
  If you have any questions or requests just let me know!!!'
   Take Care
         Tera
  P.S. I had a couple question come up in class so will add some info here too...
Paper and ink
Paper - my favorite papers for stamping and coloring are #1 Cryogen White and #2 Neenah (white, natural white and desert storm) but regular white cardstock that you can buy in bulk at Sam's, wal-mart or Office Depot works too. The 2 brands I use are smoother and blend a bit better than the regular stuff and they are a bit heavier weight - I have found thaty I can test out colors on the back of my panel and it won't show through the front - even when I use Oderless Mineral spirits(OMS) or copic markers. There are other papers out there that are good for pencils and copics such as X-press blending cardstock and Heavenly White and probably some I don't know.....
Ink - for pencils (without OMS) almost any ink will do as long as it has had time to dry - staz-on, distress and water based inks like those from Stampin' up. Once you start to use OMS some of these inks will bleed, how much will often depend on which paper you are using. Water based inks will often bleed with the OMS and with copic markers and definatly bleed if you paint with watercolors.
      I use memento inks almost exclusively for all my coloring. I have several boxes of stamped images in my 'coloring' bag that sits by my spot on the couch and I pull them out and color in the evening while the family is watching TV - which means I might feel like pencils, pencils followed by OMS, or copics - even watercolors sometimes (though I usually take the image to my craft room if I want to watercolor) So therefore the memento works best for me because it will tolerated OMS as well as the copics  and watercolors without bleeding.
    Ok all for now.....


Thursday, March 12, 2009

Techno-Joe

Hallo,
Another sketch using 'My Cuppa Joe' from Gina K - www.ginakdesigns.com
This sketch is from Mary Jo (aka Technostamper) - www.technostamper.blogspot.com
Again I used some of the Faux DP and stamped the coffee cups on the punched out pieces - the circles were cut with my nesties/cuttlebug.
Colored in with my koh i noor pencils.
All for today - Take Care
Tera


Wednesday, March 11, 2009

Late Weekend Sketch

Hallo,
I am a little late with the Weekend Sketch Challenge but I had wanted to get some cards done and the sketches really help me get going.
The WSC71 was hosted this time by Sharon at
www.paperfections.typepad.com.
For this card I pulled out "My Cuppa Joe" from Gina K - www.ginakdesigns.com
For what I thought was a pretty simple looking sketch, this was try #3 for this card - I kept getting things cadywompass or smeared....
Stamped with distress inks and colored in with my Koh i noor pencils.
Layers are cut with my nesties/cuttlebug.
All for today
Take Care
Tera


Friday, January 9, 2009

Victorian Houndstooth

Hallo,
Another card using the same layout and some of the same stamps. The main image of the jumper is from 'The Stamp Pad' - one of my older stamps (at least 10 years old).
The backrounds are both from Cornish Heritage Farms http://www.cornishheritagefarms.com .
The brown layer is 'houndstooth' and the white (stamped on tan) is 'victorian leaves'.
The brads in the 2 corners were silver but I embossed them in black to match the main panels layer.
The main image was colored in using koh i noor pencils.
All for today - Have a great weekend!!
Tera


Thursday, November 6, 2008

Card folder

Hallo,
These next couple days are going to be some of these card folders. I learned how to make these on my cruise in a class with Gina K!!! They go together very quick and hold 3-5 cards inside.
Gina gave us the pattern but she said she got it off the Scor Pal site www.scor-pal.com
You can use double sided paper or make your own by glueing 2 together (it still scors great).
I used a stamp set we got on the cruise from Gina - called 'Wreath of Wishes'.
Colored with koh i noor pencils - from my cruise goodie bag, and embellished with chocolate ribbon from Papertrey Ink - also from my cruise goodie bag :)


I made 4 matching cards to tuck inside each one along with envelopes.
After the craft fair I will be making more of these for Christmas gifts!!!!
All for today - working again....
Take Care
Tera


Friday, October 17, 2008

Many charms

Hallo,
Four more sets of charms to show you today - These are more that I am taking on my cruise to trade :)
They were done with shrink paper cut in my cuttlebug with an oval nestabilitie and colored with prismacolor and koh i noor pencils.
After shrinking I sealed them with krylon acrylic spray sealer.
I won't be posting while I am gone but should have lotsa of good stuff to show you when I come back!!!
I should be back on the 27th.
See ya then - Take Care
Tera


Thursday, October 16, 2008

Bella shrink charms

Hallo,
Another batch of shrink paper charms made to swap on my cruise - 2 daysto go !!!!!!!
I cut the shrink paper with my cuttlebug and nestabilities and then colored them with prismacolor and koh i noor pencils, shrunk them and then sealed them with several layers of krylon acrylic spray.
Short post, got some house cleaning to do and start packing and a couple batches of shrink charms to finish.....
Take Care
Tera


Monday, September 8, 2008

Clear card - pink

Hallo,
This is my first attempt at a clear card so it is rather simple - but its also made to match yesterdays bottle. The stamp is from 'Stampendous' and it is colored using koh i noor pencils and gamsol. I stamped the flower on craft cardstock. I used white staz on to stamp the flower onto the clear card and embellished with some old trim and a couple buttons.
The bottle from yesterday, gift tag and this card will be on the Etsy shop later today - http://www.stampqueen.etsy.com/
Thanks for looking - I am off to the craft table....I have a couple swaps to finish up on before my cruise and I have to go back to work on thursday (my goal was to have them done before I went back, but I got distracted by bottles...)
Take Care
Tera


Posted by Picasa